In this article
Handling of authentication and user access control is amongst the most vital aspects of contemporary application development.
Rather than coding their own authentication implementations, application developers leverage Keycloak, a flexible open source IAM.
When integrated with Docker, Keycloak is even simpler to deploy, operate, and scale.
All complex installations are removed when deploying Keycloak in combination with Docker by packaging Keycloak and its dependencies into a transferable container capable of operating anywhere consistently.
Here’s your beginner’s guide to installing Keycloak with Docker and getting your first authentication server up and running within minutes.
What Is Keycloak?
Keycloak opensource identity management platform that gives access to the applications/services.
- Single Sign-On (SSO)
- User authentication and authorization
- Multi-factor authentication (MFA)
- Social login integration
- LDAP and Active Directory integration
- Managing Users and Roles
- OAuth 2.0, OpenID Connect, and SAML support
Rather than using authentication manually, developers will be able to centralize and securely manage users in Keycloak.
Why Should You Run Keycloak in Docker?
Docker is one of the favorite ways of deploying not only Keycloak but also various applications since it makes the whole process much easier.
The advantages of running Keycloak containerized are:
- Deployment is much faster
- Upgrading or going back to the previous version is a piece of cake
- Environment becomes more stable
- Portability is boosted
- Maintenance is greatly simplified
- Dependency conflicts are reduced
You can either be setting up a development environment, or you can be ready for production.
Docker offers a great way for you to deploy in a clean and efficient way.
Requirements
These must be present before the beginning:
- Installed Docker
- Installed Docker Compose
- A little working knowledge of the command line
Verify your Docker installation:
docker –version
docker compose version
If both commands return version information, you’re ready to proceed.
Step 1: Create a Project Directory
Create a dedicated folder for your Keycloak deployment:
mkdir keycloak-setup
cd keycloak-setup
Keeping deployment files organized makes management easier as your environment grows.
Step 2: Create a Docker Compose File
Create a file named:
docker-compose.yml
Add the following configuration:
services:
keycloak:
image: quay.io/keycloak/keycloak:latest
container_name: keycloak
ports:
– “8080:8080”
environment:
KEYCLOAK_ADMIN: admin
KEYCLOAK_ADMIN_PASSWORD: StrongPassword123
command: start-dev
This configuration creates a Keycloak container and exposes it on port 8080.
Step 3: Start Keycloak
Launch the container using:
docker compose up -d
Docker will automatically download the latest Keycloak image and start the service.
Check that the container is running:
docker ps
You should see the Keycloak container listed in the output.
Step 4: Access the Keycloak Dashboard
Open your browser and navigate to:
http://localhost:8080
If you’re using a remote server, replace localhost with the server’s IP address.
Click Administration Console and sign in using:
Username: admin
Password: StrongPassword123
You should now see the Keycloak administration dashboard.
Understanding Realms
Realms act as the main organizational element in Keycloak.
Consider a Realm as a distinct space that contains:
- Users
- Roles
- Groups
- Clients
- Authentication settings
To set up your first Realm:
- Click on the Realm dropdown menu.
- Pick Create Realm.
- Type in a name.
- Click Save.
A Realm can be created for each app or environment for segregation and security.
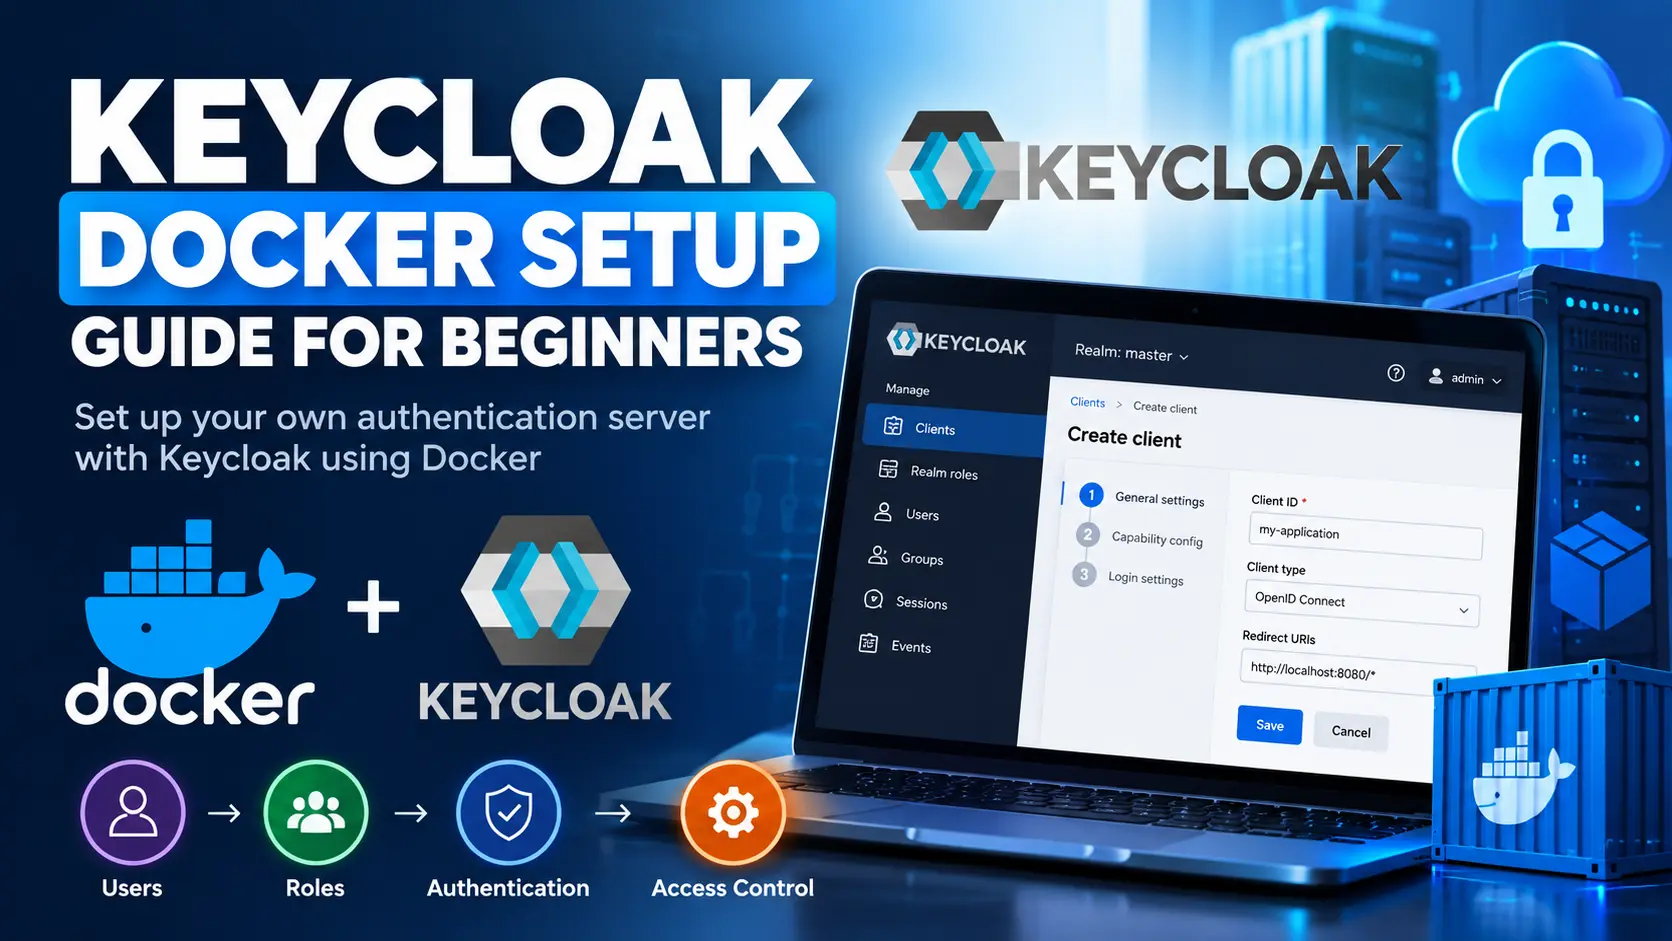
Creating Your First Client
Clients stands for applications that rely on Keycloak for user authentication.
Steps to setup:
- Click on Clients.
- Hit Create Client.
- Provide a Client ID.
- Choose OpenID Connect.
- Setup redirect URLs.
- Save the configuration.
After setup, your app will be ready to authenticate users through Keycloak.
Adding Users
To add users:
- Go to Users.
- Press Add User.
- Fill in username info.
- Click Save.
- Specify a password.
You may also grant:
- RolesRoles
- Groups
- Permissions
- Multi-factor authentication settings
This enables centralized identity management across applications.
To create your first Realm:
- Open the Realm dropdown menu.
- Select Create Realm.
- Enter a name.
- Save the configuration.
Each application or environment can have its own Realm for isolation and security.
Using Persistent Storage
Containers are temporary by design. Without persistent storage, your data may disappear if the container is recreated.
Update your configuration:
services:
keycloak:
image: quay.io/keycloak/keycloak:latest
volumes:
– keycloak_data:/opt/keycloak/data
volumes:
keycloak_data:
Persistent storage ensures that user data and configuration survive container restarts.
Deploying Keycloak Through a Hosting Control Panel
If your hosting company gives a web hosting control panel with Docker support, you do not have to use the command-line interface only to deploy Keycloak. After logging in to the control panel, go to the Docker or Container Management section, and create a new container based on the official Keycloak image. You will be able to set up environment variables, port mappings, and persistent storage via the graphical interface before the container is started.
This way is great if you like to manage visually, because it not only makes going live, tracking and running containers easier but also keeps Docker-based hosting as flexible as ever.
Securing Your Keycloak Installation
Once you have deployed the application, be sure to take steps to secure your environment.
For instance, you can:
- Use Strong Passwords
- Never use default or simple administrator credentials.
- Enable HTTPS
Keep login and authentication communications secure by using SSL/TLS certificates.
Restrict Administrative Access
- Limit dashboard access to trusted networks or IP addresses.
- Enable Multi-Factor Authentication
- Accounts with implemented MFA are much harder to breach.
- Keep Containers Updated
By updating regularly, you minimize the chances of exposure to vulnerabilities and risks.
Basic Troubleshooting
Container Will Not Start
Look at the container’s log:
docker logs keycloak
The log may show the errors in configuration or in starting the program.
Cannot Access the Dashboard
Make sure:
- Port 8080 is open
- Docker container is running
- Firewall settings allow access
Login Issues
Check:
- You are using the right username and password
- Your browser is not using cached version
- The changes in the configuration are saved
Going to Production
- This configuration is designed to be simple and uses development mode only.
- If you want to use it for production:
- You should use PostgreSQL or another supported database
- You need to set up HTTPS
- You can automate your backups
- You should use reverse proxies like Nginx
- You can keep an eye on system performance
- Also, plan for disaster recovery
All of these measures will give you reliability and scalability as your deployment grows.
Watch Keycloak Docker Setup in Action
How Keycloak Works with Docker
Running Keycloak through Docker creates a clear separation between the identity management service and the applications that depend on it. The application handles its own features, while Keycloak manages authentication and issues the tokens required for authorised access.
A typical setup includes four main components:
- Application: The website, mobile application or internal tool that users want to access.
- Keycloak: The identity provider responsible for authentication and access management.
- Docker: The container platform used to run Keycloak and its dependencies.
- Database: The persistent storage layer used to retain identity configuration and related information.
Keycloak Authentication Workflow
Attempts to sign in
Redirects the user to Keycloak
Authenticates the user and issues tokens
Validates access and serves authorised resources
The application must validate the relevant tokens and enforce its own authorisation rules. A successful login alone should not grant unrestricted access to every resource.
Keycloak Docker vs Traditional Installation
Docker is not the only way to run Keycloak. Developers can also install it directly on a server or use a container orchestration platform. The right approach depends on the application’s infrastructure, operational requirements and deployment environment.
| Feature | Keycloak with Docker | Traditional Installation |
|---|---|---|
| Initial setup | Container-based configuration | Manual software installation |
| Environment consistency | Easier to reproduce | Depends on server configuration |
| Updates | Image-based upgrades | Managed software upgrades |
| Portability | High across compatible environments | Requires environment preparation |
| Persistent storage | Configure volumes or an external database | Configure database and storage |
| Production deployment | Requires production configuration | Requires production configuration |
Docker simplifies deployment, but it does not automatically make an installation secure, highly available or production-ready.
Keycloak Docker Environment: Development vs Production
One of the most important decisions when deploying Keycloak is choosing the correct operating mode. The start-dev command used earlier is intended for development and testing rather than a publicly accessible production environment.
| Configuration | Development | Production |
|---|---|---|
| Startup mode | start-dev |
start |
| HTTPS | May be omitted for local testing | Configure HTTPS |
| Database | Development configuration | Supported external database |
| Administrator access | Local testing credentials | Restricted, secure credentials |
| Backups | Optional for disposable testing | Regularly planned and tested |
| Monitoring | Basic container logs | Application and infrastructure monitoring |
A production deployment also needs a suitable hostname, correctly configured proxy headers where applicable, secure secrets management and a tested recovery process.
Choosing the Right Database for Keycloak
Keycloak needs persistent storage for its configuration and identity-related data. While a simple development environment may use the default development configuration, a production deployment should use a supported database such as PostgreSQL.
PostgreSQL is a practical choice for teams that want to manage their identity infrastructure alongside other containerised services.
| Consideration | Development Database | PostgreSQL |
|---|---|---|
| Intended use | Local testing | Development and production |
| Data persistence | Depends on configuration | Persistent database storage |
| Management | Minimal setup | Backups, upgrades and monitoring |
| Recovery planning | Often unnecessary for temporary tests | Important for production |
The database should be backed up independently of the Keycloak container. A Docker volume protects against some container-recreation scenarios, but it is not a substitute for a proper backup strategy.
Keycloak Docker Deployment Checklist
Before making your authentication server available to other users, review the following requirements.
- Replace the default administrator credentials with secure credentials.
- Use a supported production database.
- Configure HTTPS and the correct public hostname.
- Restrict access to the administration console.
- Configure persistent storage and database backups.
- Review client redirect URIs and permitted web origins.
- Test user roles, permissions and token validation.
- Configure logs, monitoring and recovery procedures.
Integrating Keycloak with a Wider Security Architecture
Identity management is only one part of application security. Keycloak can centralise user authentication, but it does not replace network protection, application-level authorisation, endpoint security or monitoring.
For organisations running applications across remote teams, cloud platforms and internal networks, identity controls should form part of a broader security strategy. This is particularly relevant when employees access business applications from different locations and devices.
A useful starting point is understanding how remote working has changed business security priorities. Organisations should also assess their network-level protection and monitoring requirements before exposing authentication services to the public internet.
For example, a modern SIEM solution can help security teams collect and analyse logs from applications and infrastructure. This provides a broader view of suspicious activity than identity management alone.
Identity Management and Network Security
| Security Layer | Primary Responsibility |
|---|---|
| Keycloak | Authentication, identity federation and access tokens |
| Application | Application-specific permissions and access checks |
| Firewall | Network traffic filtering |
| Reverse Proxy | Routing, TLS termination and related controls |
| SIEM | Centralised security event collection and analysis |
| Backup System | Data recovery following accidental loss or failure |
These components serve different purposes. Combining them creates a more complete security architecture without relying on a single service to protect the entire application.
Common Keycloak Docker Mistakes to Avoid
Even a straightforward Docker deployment can encounter problems when configuration details are overlooked. A few common mistakes are worth addressing before the service is used by real customers.
Using the Latest Image Tag Indefinitely
The latest tag makes initial setup convenient, but it can introduce unexpected changes during future deployments. Pin a specific Keycloak version, test upgrades in a separate environment and maintain a rollback plan.
Exposing Port 8080 Publicly
Port 8080 is useful for local development. For a production deployment, place Keycloak behind an appropriately configured reverse proxy or load balancer, use HTTPS and restrict unnecessary direct access.
Storing Important Data Only Inside a Disposable Container
Container replacement should not mean losing identity configuration. Use persistent storage and a supported database, with backups stored separately.
Ignoring Redirect URI Configuration
Incorrect or overly permissive redirect URIs can create security problems. Configure client redirect URIs carefully and avoid broad wildcard patterns unless there is a specific, justified requirement.
Treating Authentication as Complete Application Security
Keycloak can establish a user’s identity, but the application must still check whether that user is allowed to perform a particular action. Access tokens must be validated correctly, and permissions should follow the principle of least privilege.
Extending Keycloak with Modern Application Technologies
As applications become more sophisticated, authentication often needs to work alongside APIs, automated workflows and AI-powered features. Keycloak can provide a central identity layer for these systems, provided that each application or service implements the appropriate authentication and authorisation checks.
For developers exploring AI-powered applications, understanding retrieval-augmented generation (RAG) can help explain how applications combine language models with external information sources. Similarly, understanding artificial intelligence provides broader context for the technologies being integrated into modern software.
When connecting an AI application to protected services, developers should avoid embedding administrator credentials or unrestricted access tokens in prompts, source code or client-side applications. Use appropriately scoped credentials, secure server-side token handling and explicit access policies.
Keycloak can therefore serve as part of the foundation for a secure application architecture, whether the system is a conventional web application, an API-driven platform or an AI-enabled service.
Conclusion
For developers who want to add secure authentication and manage an identity system, Keycloak with Docker is a great option. Docker will make your deployments easier, while with Keycloak, you get features of enterprise-level authentication like Single Sign-On, user federation, and role-based access control.
As experience and requirements continue to develop, you may add dedicated database HTTPS advanced authentication features and production-ready infrastructure to your setup.
Use the key points in this guide to understand the topic and make more informed decisions.

This guide is researched and edited using relevant documentation, reliable sources and publicly available information.
Was this guide helpful?
Your feedback helps us improve future guides.